Driftwood is an important part of many aquatic ecosystems and offers food and protection for an abundance of water-, air-, and land-dwelling creatures. Many hobbyists like to bring these little slices of nature into their home aquariums to offer their fish and invertebrates the same natural benefits.
However, introducing untreated wood and rocks into an aquarium setting can prove to be devastating if not done carefully. Harvesting these materials may also be illegal or by permit only, so it’s important to check with local regulations first.
Keep reading to find out everything you need to know about collecting driftwood and preparing it for your own freshwater aquarium!
What is driftwood?
How is driftwood any different from a branch that you find lying on the ground and why is it so popular in the aquarium hobby?
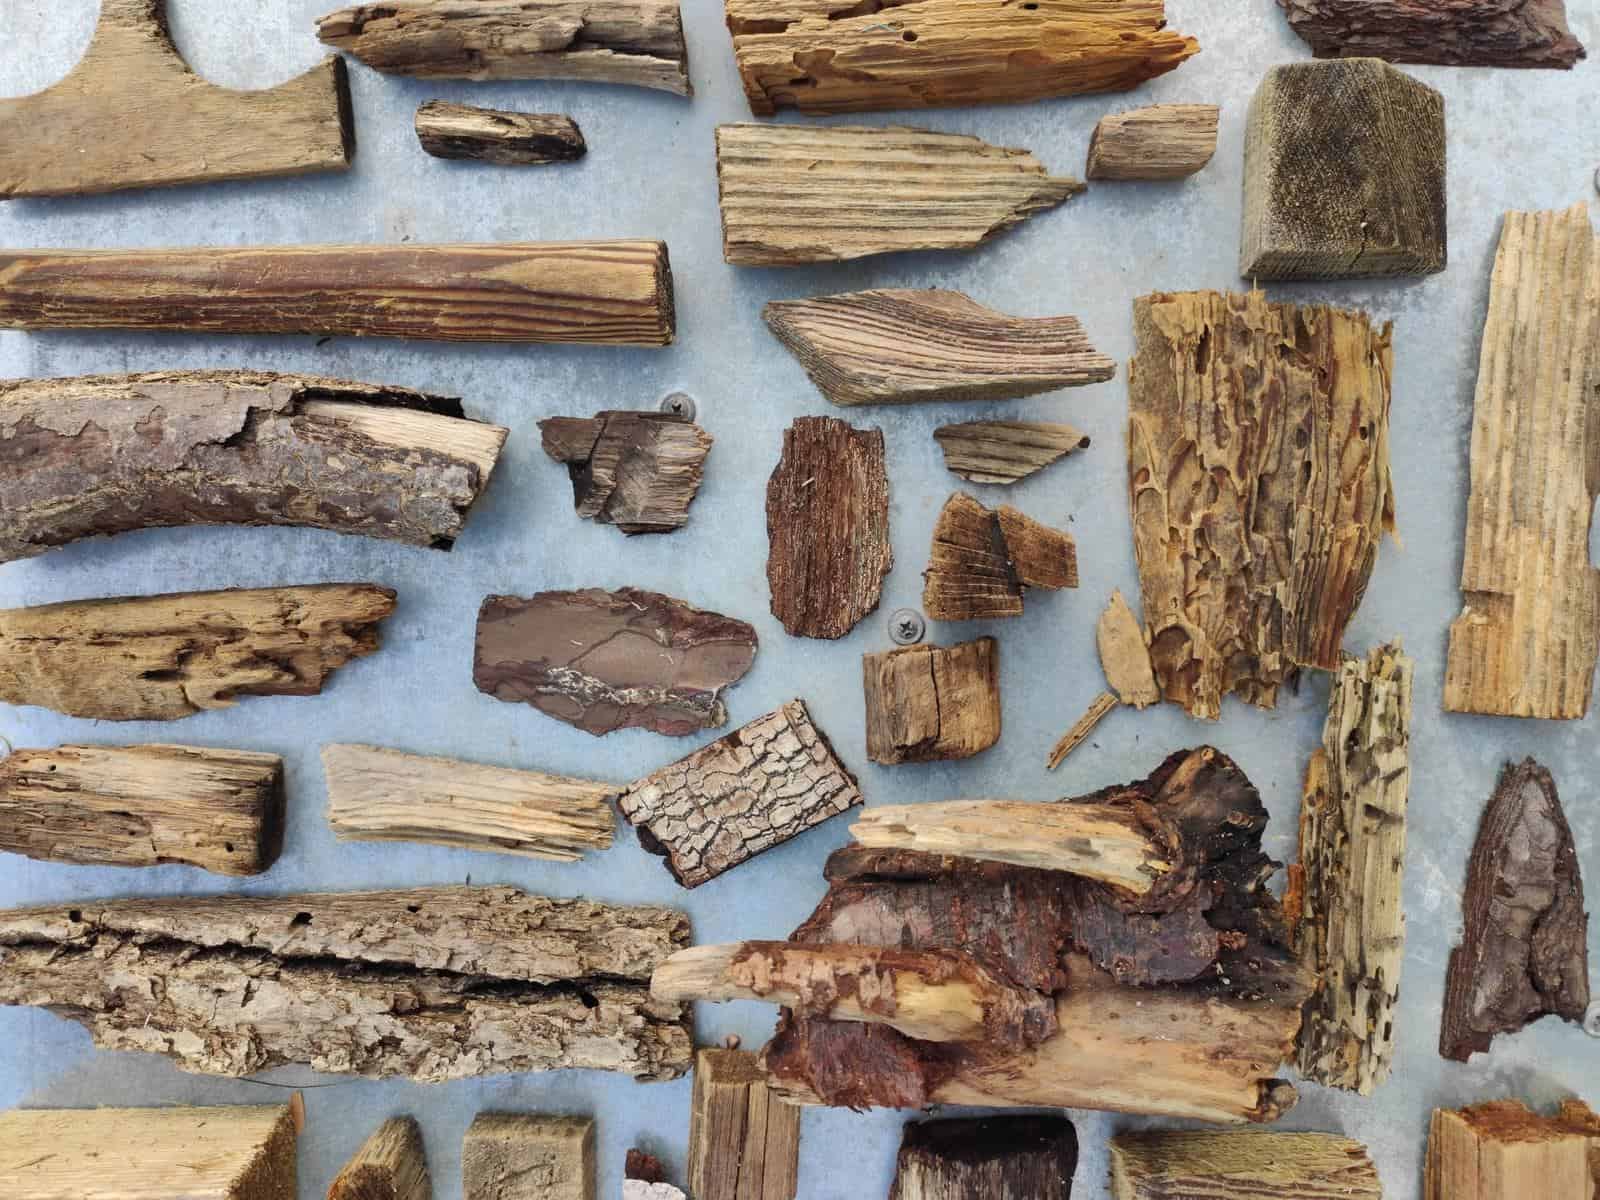
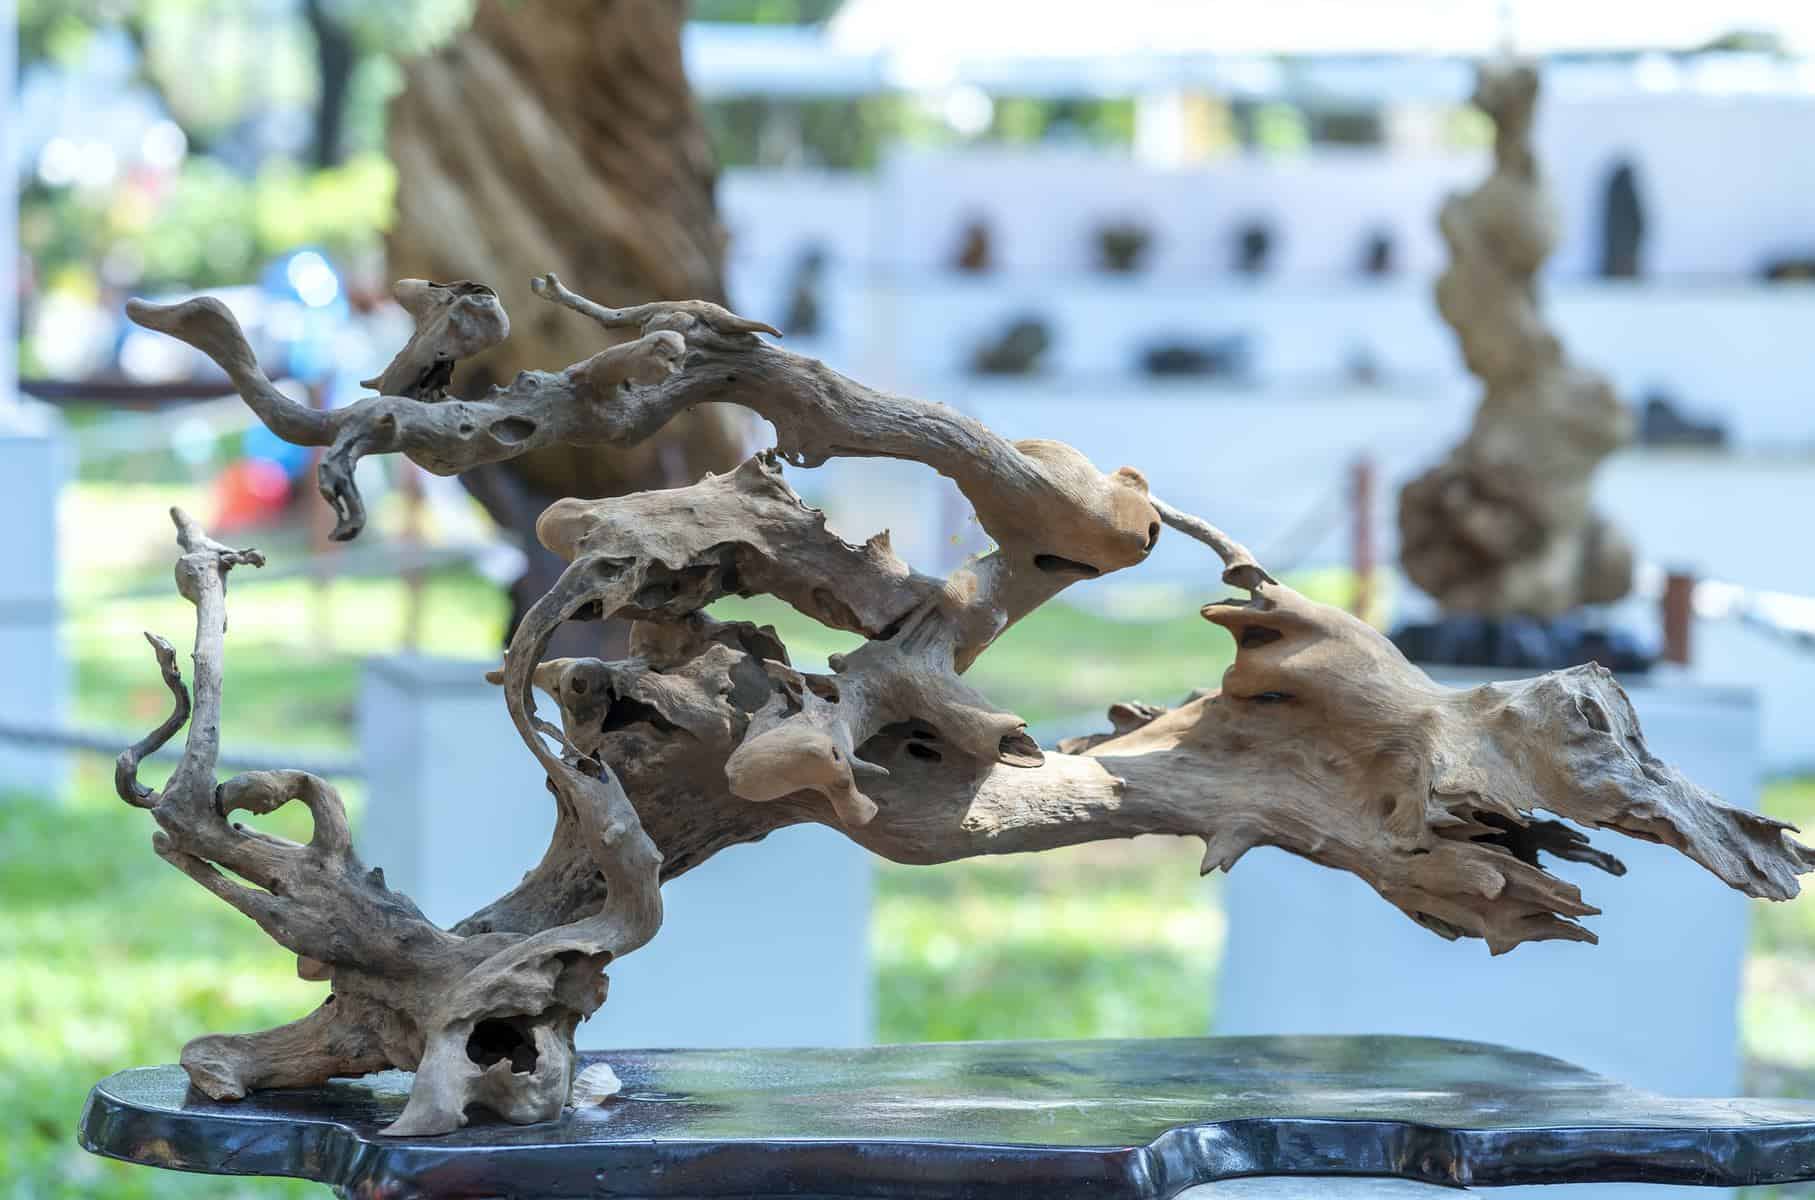
Simply put, driftwood is any piece of wood that has been washed onto shore from a body of water by way of waves, tides, and/or wind. It is very commonly found along the edges of lakes, rivers, and on beaches and has a weathered-down appearance.
Out at sea, this driftwood can become a sanctuary for open-water species for shade, protection from predators, and to even lay eggs. Above the surface, migrating birds can take a quick rest before returning on their journey.
Once on shore, the driftwood can still provide shelter for many birds and invertebrates.
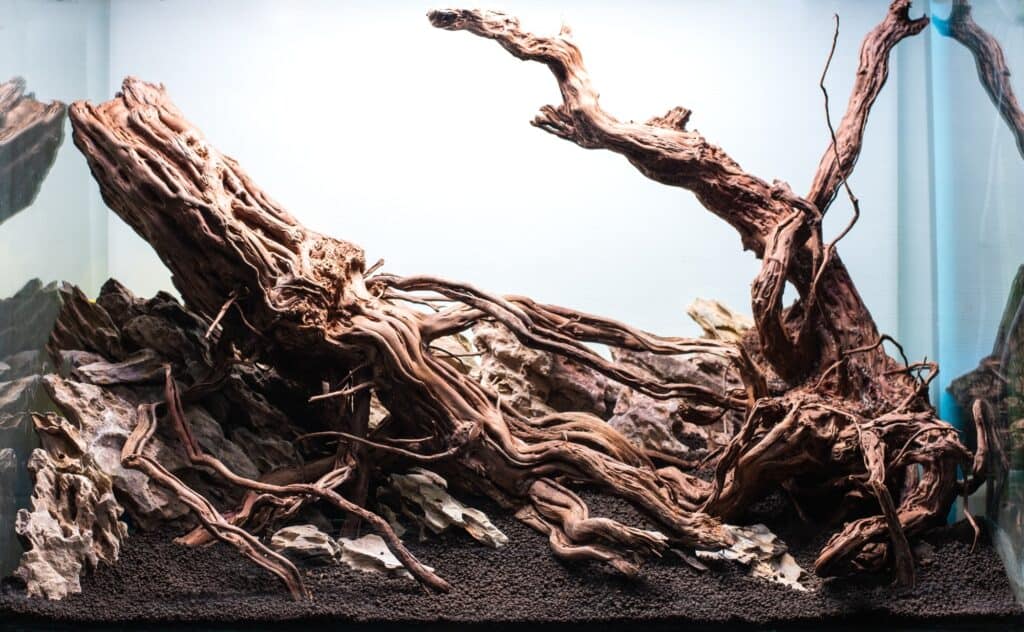
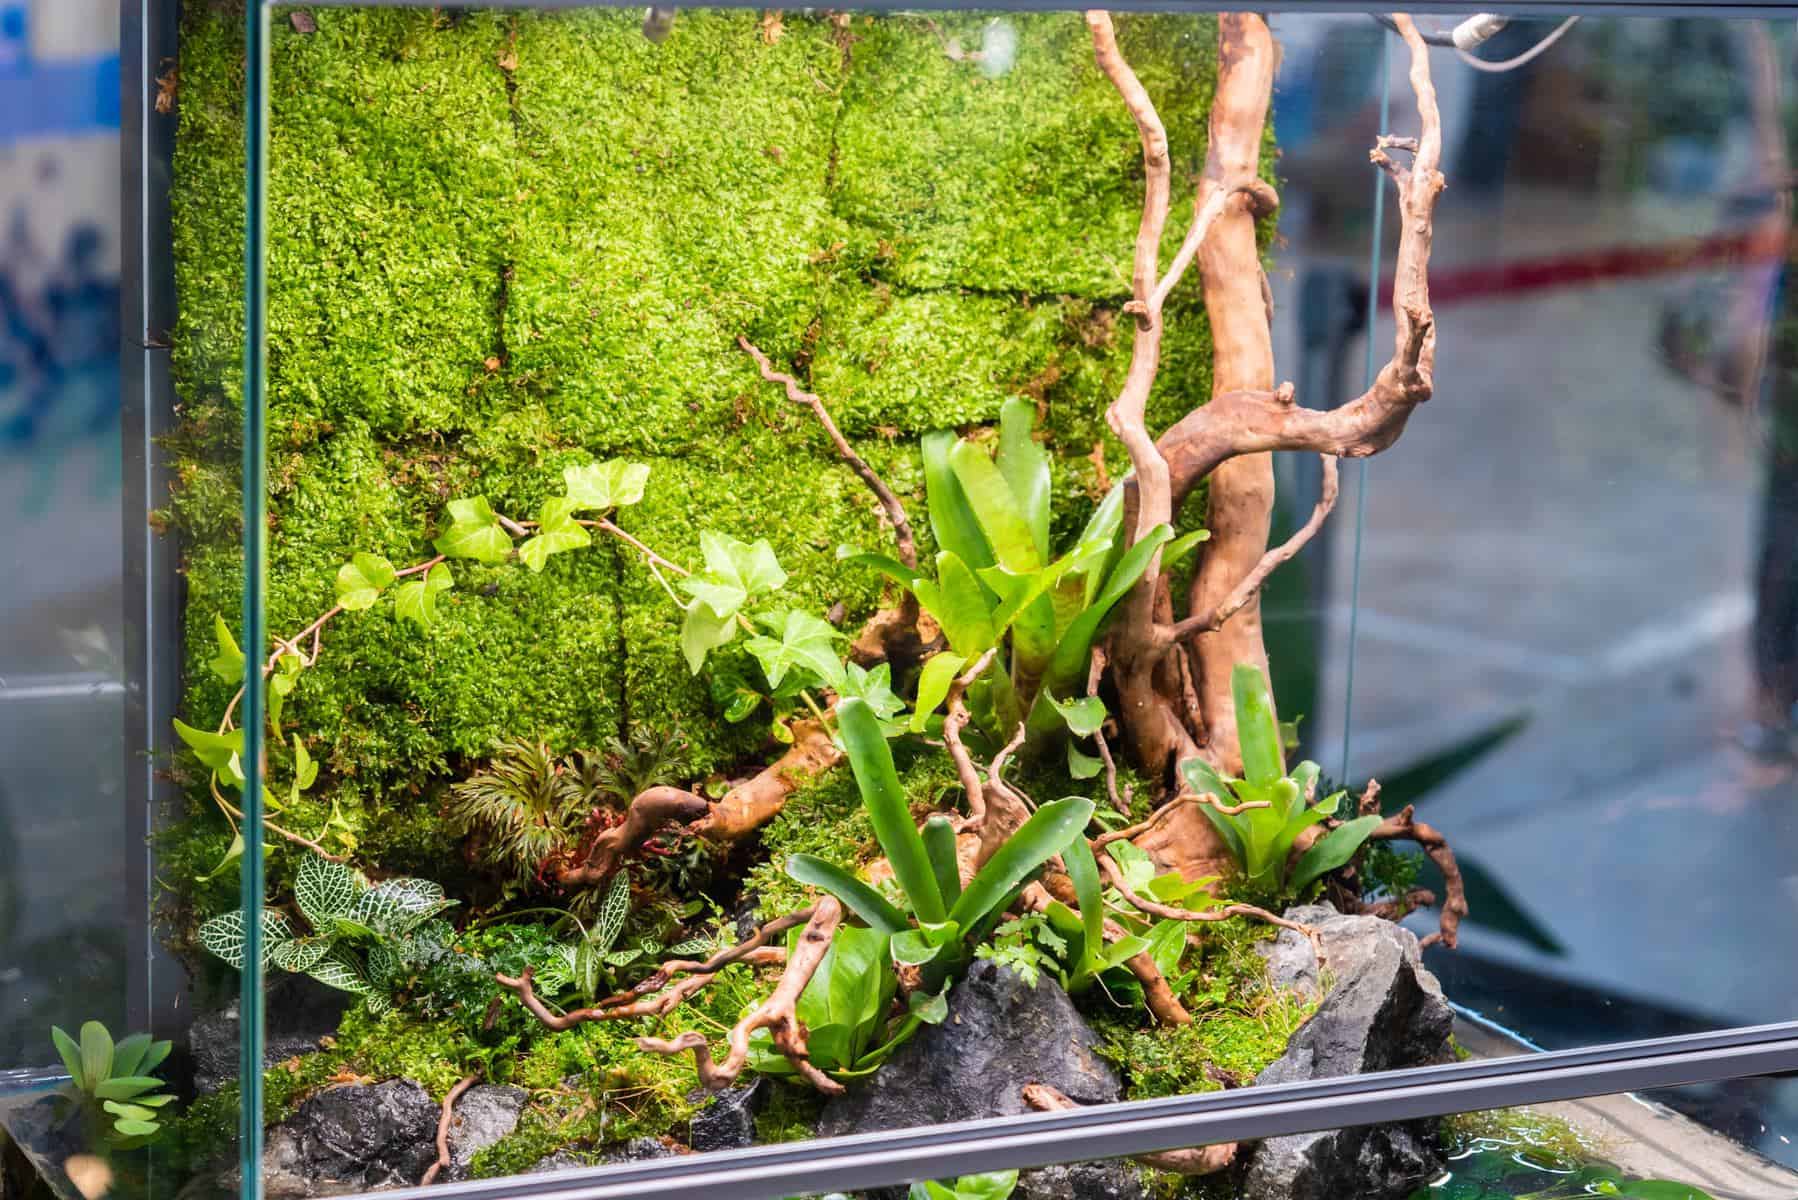
In a tank setting, driftwood can provide the same benefits to aquarium life. For those who love a beautiful aquascape, driftwood is important for creating structure and dynamic in their display while also providing their livestock with shelter.
In addition, driftwood naturally contains tannins that leak out into the water and cause a tea-like color. Tannins can also be very beneficial for some species as they boost freshwater fish immunity and lower pH.
What types of wood are safe for aquariums?
The only driftwood that is guaranteed to be the safest for aquatic systems is commercially treated wood from a reputable brand. Because of this, and to help with conservation efforts, it’s strongly recommended to purchase these materials through a trustworthy aquarium company.
Any piece of raw driftwood that’s fresh off the beach carries the risk of introducing many unknown microbes and pathogens into your tank that could destroy the system in a matter of days.
However, if you find a piece near your local beach or lake that you really just can’t leave behind, then the curing process can be very rewarding and you will need to know how to sterilize it for your aquarium ecosystem.
How to DIY aquarium driftwood
First, you will need to think about the layout of your aquarium.
You don’t want a giant, solid log taking up most of the swimming space for your fish. You should pick a piece that makes your fish feel safe while creating an interesting contour in the tank, but also something that your betta fish’s fins can’t get snagged on.
It’s important to pick out a good piece of quality driftwood initially as you don’t want to disturb the substrate and stress out fish if you end up not liking the placement of it in only a matter of weeks.
A good idea is to draw out a basic sketch of your aquarium and include a rough outline of the decorations and accessories that you plan on adding. You will never get it how you envision it, but creating a blueprint will help save some rearranging in the future. A betta fish tank should always be designed to show off the fish, and you don’t want an ugly piece of wood distracting from that!
One of the benefits of buying already-cured driftwood is that usually, fish stores have the best of the best pieces available that are interesting shapes and complimentary sizes. At the beach or lake, you can only choose from what is available and real driftwood might not wash up that regularly to get your ideal piece.
Collecting driftwood
Collecting and cleaning driftwood can be intimidating, but it’s critical that you take the time to do it correctly and fully. For best results, visit an ecosystem with little pollution and no visible signs of oil slicks or other contaminated runoffs.
When looking for pieces of wood to add to your aquarium, there are a few things you want to consider.
As we mentioned before, varied shapes and sizes should always be a priority, and a branched appearance is usually most desired; however, if you’re able to later cut and modify larger pieces, then it might be better to collect in bulk.
You will want to search for pieces that do not have any signs of mold or other fungi on them. If put into the aquarium, this decay can continue to progress, which can significantly impact water parameters and lead to more problems down the road. You will also want to look for solid pieces that aren’t porous and that don’t have any bark left on them.
Lastly, you should avoid softwood as a type of driftwood as it won’t last as long in the aquarium and many hobbyists have difficulty getting it to sink; species that produce sap should also be avoided as this can leak out into the aquarium as well.
Preparing driftwood for curing
Once you’ve collected your pieces, it’s time to prepare for sterilization!
You will want to prepare your wood for aquascape viewing purposes and fish safety. This means cutting the piece to the size desired and sanding down any rough patches that could potentially cause injury.
Place the piece in the unfilled tank and make sure that you are happy with the shape and placement. Before moving onto curing, you will want to scrub down the wood.
Get a brush with hard bristles or steel wool and scrape away as much superficial dirt and grime as you can; if you come across a soft section on the wood, this could potentially be rot and it’s best to cut away a good part of the piece or discard the wood entirely.
During this time, the water may turn a brown color, but most of this is due to tannin release and won’t disappear with continued scrubbing.
Instead, tannin-stained water will need to be dealt with by soaking the wood for extended periods of time or doing regular water changes once the driftwood has been placed into the aquarium; scrubbing is simply for removing any external dirt.
Bleach, soaps, and other chemicals should not be used during this process as the residue can accidentally be introduced into the aquarium, later on, proving to be toxic to fish and invertebrates.
However, you can make a hydrogen peroxide or vinegar mix to help remove unknowns as long as the piece is then thoroughly rinsed.
Curing driftwood
There are thousands, if not millions, of creatures living on these small pieces of ecosystem; some of them you can see with your naked eye, but others can only be seen through the most magnifying microscopes!
There are many methods for curing driftwood, and hobbyists have had success with many different methods and techniques; some lightly rinse the wood before tossing it in their aquarium while others give a good month before even thinking about submerging it in their tank.
Here, we’ll go over some of the most popular methods for curing driftwood.
Boiling driftwood
Boiling driftwood is probably one of the best ways to sterilize driftwood, waterlog it, and remove tannins. This method depends on how large your driftwood is.
For smaller pieces, it is recommended to set the wood on a rolling boil for an hour or two. Some hobbyists like to repeat this process every day for a week while others like to leave their wood on a low boil for a couple of days! The problem with this is that you can actually overboil your wood, so it’s best to do it slowly.
This process should help waterlog the driftwood and remove some of the tannins as well, though it might be necessary to continue to soak the piece in lukewarm water up to a month after this to finish the process.
If your wood is waterlogged after boiling, it should be given time to be cooled off and then it can be placed directly in the tank. If your driftwood is too big to put in a pot on the stove, then there are a few ways you can go about getting the same effect.
One of the quickest ways of treating large driftwood is by pouring boiling or hot water over it. This should sterilize any microbes or pathogens near the top layer of the wood; however, you will most likely need to leave it in a bucket of water for a while to complete the waterlogging process.
Another method is to place the driftwood in a bucket of water and leave it out in the summer sun or with a heater. This can be difficult if the weather is not appropriate and you will need to keep up with evaporation rates; there is also the possibility that water can become contaminated as well due to the natural elements.
Uncured driftwood
The other popular option is to simply place the piece of wood directly into the aquarium.
Surprisingly, many hobbyists have had luck with this method, though we don’t recommend it unless you’re very familiar with the ecosystem where you’re collecting from and don’t mind taking the risk of losing your fish.
Otherwise, you may waterlog the piece before placing it in the aquarium, or weigh it down; if for anything, rinse off the piece for dirt before submerging it!
How to keep driftwood from floating
Whether you decide to boil your driftwood or not, you may have problems with it floating right back to the surface once it’s been added to the tank.
Getting your driftwood to sink is much simpler than it might seem but can take a while. All that you have to do is submerge the driftwood in a bucket of clean water and let it soak for a few weeks.
You will want to find a way to keep the driftwood from floating to the top while it’s soaking in the water; it’s easiest to pile something heavy on top of it or tie it down.
It can take up to a month for a buoyant piece of driftwood to become fully waterlogged and no longer float, which can start to get in the way over time. The great part about this, though, is that additional equipment isn’t usually needed, though some hobbyists like to use a powerhead to keep the water circulating.
During this time, your driftwood will also start to release natural tannins. This will usually cause a noticeable discoloration of the water. In general, these tannins will not harm the creatures inside of your tank and may actually help bolster immunity, but your pH levels will start declining over time as tannins are acidic.
It is not necessary to do water changes during this time, though how quickly the water changes color can be a good gauge as to how many tannins are left in the wood since some hobbyists don’t like the brown aquarium water appearance. Changing the water with clean water regularly will also help remove any of the harmful unknowns remaining inside the driftwood.
Over the course of a few weeks as the driftwood soaks, it’s a good idea to keep checking in on the water level. Depending on where you live, you may find that your water evaporates more quickly and might need top-offs to keep the wood fully submerged.
Eventually what you’ll be left with at the end of the few weeks should be a non-floating piece of driftwood in crystal clear water. Remember that this process can take anywhere from a few days to a month, and the time needed largely depends on the type of wood and the size.
Once you’re happy with the clarity of the water and/or when the wood sinks, you’re all set to add it to your main aquarium!
How do you keep driftwood from rotting?
As we mentioned before, it’s best to start with a reliable piece of wood that is free of any signs of rot. This will give the best chances for getting the most life out of your driftwood.
Over the course of several years, driftwood will begin to breakdown and rot just like any other organic thing. However, rot isn’t the end of the world, and it’s often easy to catch before it happens.
Signs of rot include unexpected elevations in nutrient levels, mold/fungus, foul odor, and even finding pieces breaking apart and floating to other areas of the aquarium. For the most part, this can become unsightly and hobbyists remove the decaying piece right away.
However, as long as nutrients aren’t affecting fish or invertebrates, then there isn’t too much reason to remove it from the tank as it’s a process that would happen in their natural habitat. In most situations, it’s easiest just to replace it with a new piece.
Driftwood Aquascaping
After all that, you’re pretty much done and the driftwood is ready to be put into the aquarium. Now try to find that blueprint from before that showed you where you wanted to place it and follow it!
Submerged wood should be secure. Try waving water around it to make sure that it won’t fall over given unexpected movement. Some hobbyists choose to superglue their pieces to the bottom of the tank, but surrounding it with enough substrate or rocks should also do the trick.
At this point, you might find that your driftwood is still leaking tannins into your aquarium. While this can make for an unwanted brown hue to the aquarium water, tannins are incredibly beneficial to betta’s health and a natural part of their ecosystem in the wild.
Betta fish come from naturally tinted blackwater environments. There are many aquarium products made specifically for betta fish that release tannins into the water that give off this tinted coloration.
If you prefer to not have stained water, filtering your water through activated carbon will bring back the clarity. A succession of water changes will also do the trick, though this might take longer and be more manually demanding.
Conclusion
Driftwood can create a safe and natural space for your fish while adding dimension and interest to the display aquascape. However, fish stores often charge a lot of money for specific pieces and types of driftwood, which can become costly over time for larger aquariums.
Luckily, there are a few ways to harvest and cure your own affordable driftwood. It is important to collect from an unpolluted area and give enough time to boil away any impurities and for the wood to become waterlogged.
If you have any questions about the different types of wood available for the aquarium, how to add interest to your aquascape, or have had experience DIYing your own driftwood, don’t hesitate to leave a comment below!
