
It’s great that before getting your fish, you are studying how to prepare a betta tank. Setting up an aquarium for the first time can be stressful because you have endless options for filters, chemicals, and advice that often contradict each other. The good news is that for bettas, it is possible to create an attractive and healthy environment for them with simple tools, a little creativity, and no need for complicated or expensive equipment.
Most initial fish-keeping supplies are 5-gallon aquariums, or at best, 5-gallon fish tanks. Larger volumes of water are easier to heat, and they dilute fish waste at a higher ratio, meaning the fish tank water changes won’t need to be done as often. Live plants benefit the fish by providing resting spots, help reduce stress by creating a more natural environment, and absorb excess nutrients that detrimentally affect the water quality.
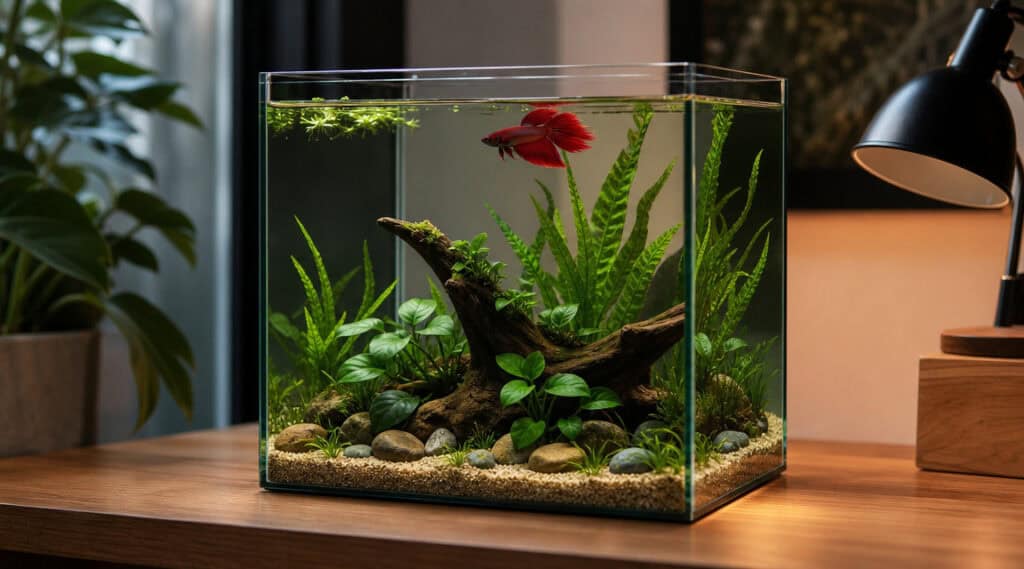
This guide will show you the type of setup that most beginners should begin with: an easy, low-tech, 5-gallon planted tank.
The Essential Shopping List
Before you start building, you need to gather the right materials. Buying what you need, without the gimmicky extras, will save you money and headaches down the road.
5-Gallon Tank Setup Checklist
Hardware & Equipment
- 5-gallon aquarium: a standard glass rectangular or rimless tank (make sure it has a cover since bettas can jump).
- Sponge Filter & Air Pump: Sponge filters provide the gentle water flow bettas prefer, unlike harsh hang-on-back filters that can push them around. You will also need airline tubing and a small air pump to run it.
- 50W Adjustable Heater: Bettas are tropical fish that need water between 78°F and 80°F. Avoid “preset” heaters, which are often unreliable.
- Glass Thermometer: A simple suction-cup thermometer placed opposite the heater to verify the temperature.
- Aquarium light: a simple LED light made for planted tanks (typically comes with tank kits).
Hardscape & Substrate
- Substrate: Aquarium soil (best for plants) or smooth gravel. If using gravel, you will need root tabs to feed your plants.
- Decorations: Smooth rocks or natural driftwood. Avoid anything with sharp edges that could tear delicate betta fins.
Water Care & Testing
- Water Conditioner: Essential for removing toxic chlorine and chloramines from tap water.
- Liquid Test Kit: The API Freshwater Master Test Kit is highly recommended compared to test strips.
- Liquid Ammonia: Needed to “feed” the tank during the fishless cycling process.
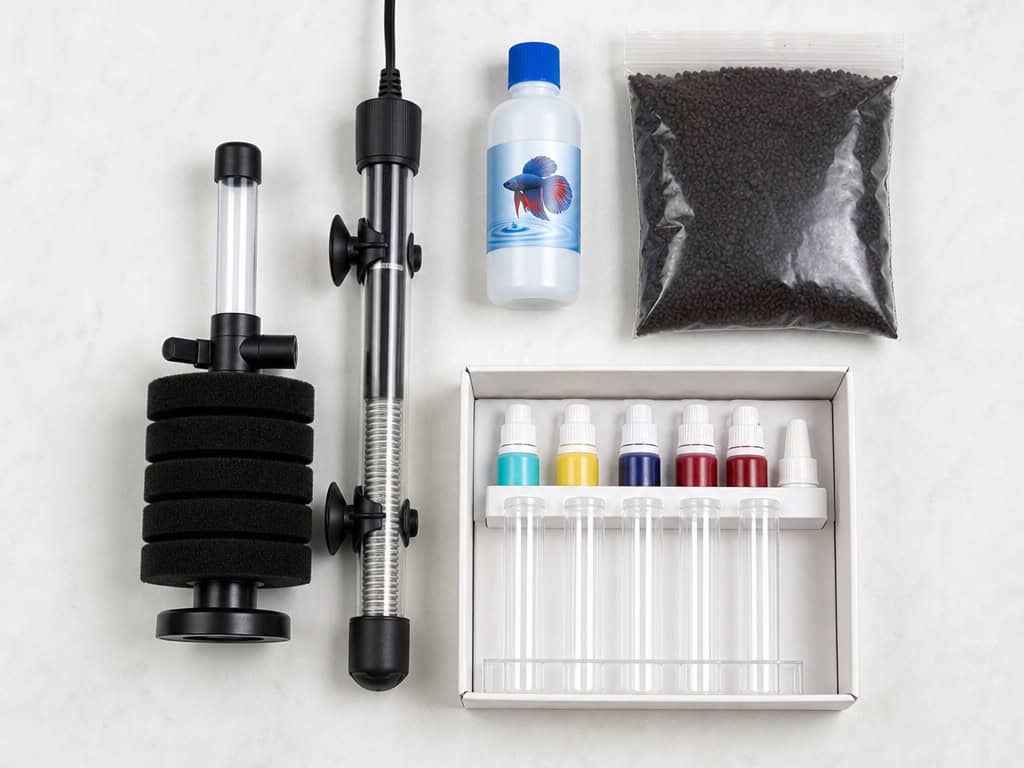

Wonderfactory 6-Gallon Glass Aquarium Starter Kit
Check PriceChoosing the Right Plants
You don’t have to get special lights or put CO2 injections to get live plants. Bettas appreciate broad leaves at the surface where they can take a rest and do some breathing. Here are some of the easiest plants for a 5-gallon setup.
| Plant Name | Placement | How to Plant | Why Bettas Love It |
|---|---|---|---|
| Anubias | Foreground / Midground | Attach to wood or rock. Do not bury the thick green rhizome in the soil, or it will rot. | Provides wide, sturdy leaves perfect for resting near the surface. |
| Java Fern | Background | Attach to wood or rock. Like Anubias, the rhizome must stay above the substrate. | Creates tall, dense jungles for your betta to explore and hide in. |
| Cryptocoryne | Midground | Bury the roots directly into the substrate. | Offers soft, wavy leaves that won’t snag long fins. |
| Salvinia (Floating) | Surface | Simply drop them gently onto the water’s surface. | Dims the light slightly (which bettas prefer) and provides a sense of overhead security. |
Step 1: Hardscape and Planting
First, position your tank on a solid surface, ensuring it is level and away from direct sunlight (which promotes algae growth) and draughts. If you plan to use gravel, rinse it in a bucket until the water is clear. You usually don’t need to rinse aquarium soil, but check the instructions on the bag.
Take a moment to add approximately one to two inches of substrate to the bottom of the tank. After that, get ready to set up your rocks or driftwood. One last decoration safety check: Take a pair of pantyhose and run them over your decorations. If the material snags, that decoration is too sharp for betta fins, and you will need to sand it down or remove that decoration.
It is much easier to plant your tank when it is mostly empty. Add just enough water to make the substrate damp, then place your plants according to the table above. Use aquarium superglue (cyanoacrylate) or cotton thread to attach Anubias and Java Fern to your hardscape.
Step 2: Filling and Equipment Setup
To keep your new plants from being uprooted and to prevent a cloudy mess, you can use a small plate or even a piece of bubble wrap as a barrier over the substrate. Carefully pour your tap water onto the plate and let it overflow gently into the tank.
After filling the tank, treat the water using your water conditioner. Follow the instructions on the bottle. Place your sponge filter in one of the back corners and position your heater nearby so that the gentle flow of water evenly distributes the heat. It’s okay to turn on the equipment now, but wait 24 hours before final adjustments to the heater so that the temperature can stabilize.
Step 3: The Crucial Cycling Phase
The most crucial step in keeping bettas is understanding that you can’t just add a fish to a new tank. Fish produce waste, which includes ammonia, a toxic substance. It takes time for aquariums to develop beneficial bacteria that consume ammonia and break it down into other, less harmful compounds, so you need to grow that bacterial colony by cycling the tank.
To protect the fish, we perform a fishless cycle, taking about 3 to 6 weeks. Here is a basic timeline of what to expect:
The Fishless Cycle Timeline
Week 1: Beginning the Cycle. Add liquid ammonia to the tank until your test kit measures 2.0 ppm (parts per million). Check the water every few days. The ammonia level will remain high as the first kind of beneficial bacteria starts to grow.
**Week 2-3: The Nitrite Spike**
Ammonia is consumed by bacteria, which then create nitrites, also poisonous. When nitrites are spiking, you’ll notice ammonia levels decreasing. If ammonia decreases to less than 1.0 ppm, keep adding a few drops to feed the bacteria.
Week 3-5: Nitrate Phase During this phase, a different kind of bacteria start developing to feed on nitrites and convert them into nitrates, which are safe in small amounts. You will know that you are in this phase when you see a drop in nitrites and nitrates start appearing on your test kit.
The Finish Line. You can consider your tank fully cycled once you are able to add 2.0 ppm of ammonia, count exactly 24 hours, and your test kit shows 0 Ammonia, 0 Nitrites, and some Nitrates. Do a 50% water change to lower the nitrates, and now your tank is ready for a betta!
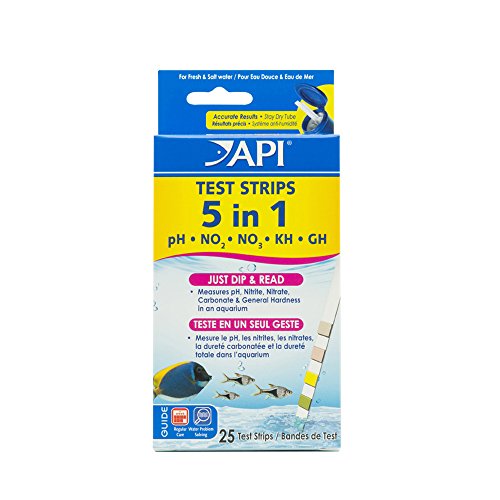
API 5-in-1 Aquarium Test Strips 25-Count
Check PriceStep 4: Acclimating Your Betta
When the cycle of your tank is finished, and the temperature is a constant 78°F–80°F, it is time to bring your betta fish home. However, do not just pour the fish into the tank. The sudden change in tank temperature and water chemistry will cause the fish to go into shock.
Instead, for 15 minutes, float the cup or bag your Betta came in on the surface of your tank to equalize temperature. Then, open the container and add a splash of your tank water to it. Wait 5 minutes and repeat this process 3 to 4 times. This will slowly introduce your betta to the specific water chemistry of your tank.
Finally, use a soft net to gently lift the betta out of the container and place them into the tank. Discard the store water down the drain—never pour it into your clean aquarium.
A Slow Start for a Long Life
As a fish keeper, you must have patience during the cycling process of your new 5-gallon planted tank. The waiting game is often the most difficult part of fish keeping, but rest assured, your patience will be well worth it in the end. By gathering all the best supplies, using easy live plants, and prepping your water properly, you are setting your future betta up for the best possible start to a long, healthy, and active life.