To keep your betta fish happy, you need an effective aquarium filter and you need to make regular water changes.
Partial water changes are a routine part of aquarium maintenance which replenishes the tank with fresh, clean, oxygenated water that contains important minerals to balance your tank’s water chemistry.
In this guide, I’m going to share everything you need to know about how to make water changes in your betta tank, as well as offer my top tips on how to do this without shocking your precious pet fish.
But first…
Why Do I Need To Make Partial Water Changes?
Regular partial water changes help to keep the aquarium water in good condition. We remove tired, stale water that contains unwanted waste products that have built up in the tank, such as nitrates and phosphates that can cause algae blooms.
By replacing it with fresh, clean water, we’re adding dissolved oxygen, as well as essential minerals that are important for healthy plant growth and water chemistry.
How Often Should I Change My Betta Fish Tank Water?
Most aquarists will change their tank’s water every 1-2 weeks. But whether you choose weekly or bi-weekly water changes depends on the bio load of your fish and how much water you replace each time.
A 10-gallon tank with a single betta fish and a decent filter has a relatively low bioload, meaning that 20% water changes every two weeks should be sufficient.
However, the same-sized tank with one betta fish and six pygmy corydoras catfish tank mates will have a higher bioload and may require a water change of at least 20% weekly.
How Much Water Should I Change Each Time?
Once again, the proportion of water you change each time will depend on the stocking density of your tank, and how often you change the betta fish water. In general, bettas tend to live in smaller tanks and can be quite sensitive to water changes, so I’d advise slightly smaller changes than for typical tropical fish.
For tanks with a single betta or low stocking density, 10% per week should be sufficient. For tanks that have more fish per gallon, 15-25% per week is advised.
Since large water changes (over 30 percent water at a time) can shock your tank’s water chemistry, it’s better to make water changes for highly stocked tanks every week. But for sparsely populated tanks, you can meet the 10% per week target by changing 20% of your water every two weeks.
Can I Use Tap Water for My Betta Tank?
The vast majority of aquarists use municipal tap water for their betta tanks – but you’ll need to treat it first. Municipal water invariably comes treated with chlorine, fluoride, and other harmful substances that are toxic to fish. These need to be removed to make the water safe for your fish.
While some aquarists remove chlorine by letting water sit in a bucket for a day, this won’t remove other chemicals such as fluoride. To neutralize or remove all harmful chemicals, you’ll need to use a purpose-made aquarium water conditioner such as Seachem Prime.
Should I Vacuum My Betta Tank When I Change the Water?
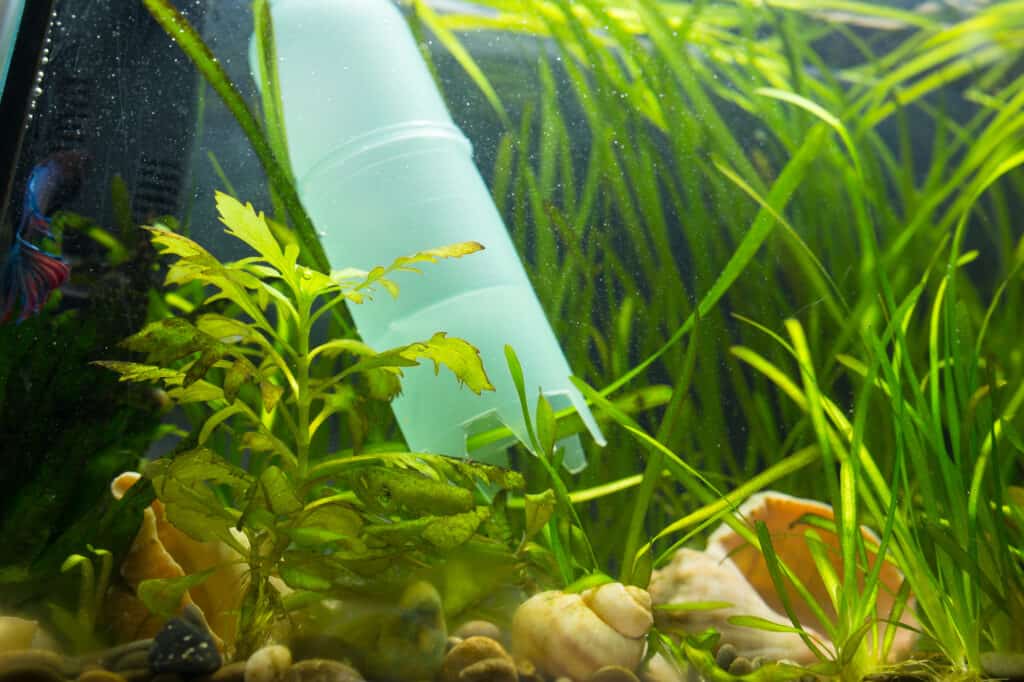
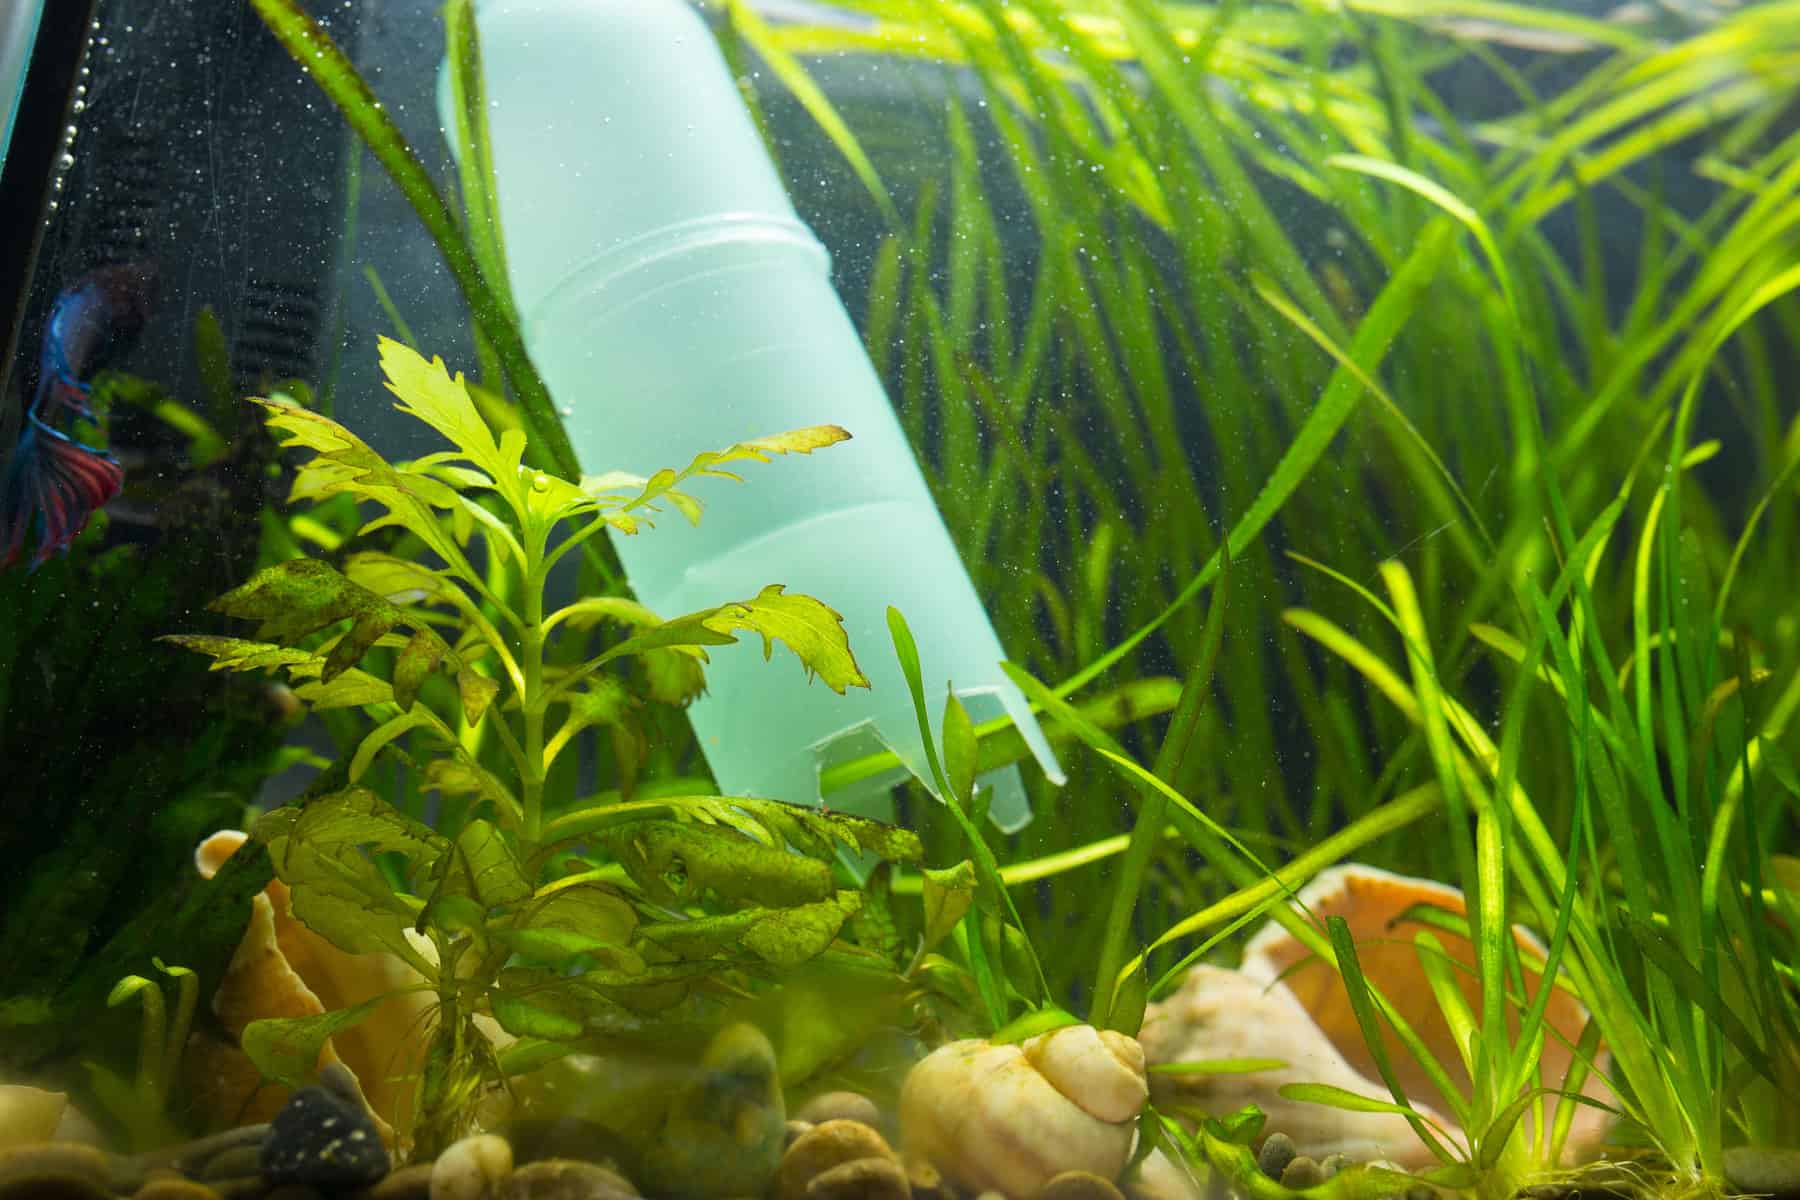
Another part of regular betta tank maintenance is hoovering the gravel. This is because pieces of detritus, leftover food, and fish waste inevitably get lodged in the substrate and, over time, contaminate the tank.
Since vacuuming the gravel with a gravel cleaner sucks dirty water out of the tank, it’s a great idea to combine it with your partial water changes so that you’re effectively performing two jobs in one go!
How To Make Partial Water Changes in a Betta Tank
Step 1: Gather Your Gear
You’ll need a large, clean bucket, a siphon tube, an old towel, a thermometer, an aquarium water conditioner, and ideally a gravel cleaner to attach to the end of your siphon tube, too.
Step 2: Begin Siphoning
If you have a primer pump on your aquarium vacuum then you can just press a button to get the flow started.
If not, you can use gravity to get the flow started or, as a last resort, suck on the tube, being careful not to get any of the water in your mouth (yes, I speak from experience!!).
Step 3: Siphon off 10-30% Of the Tank’s Water into Your Bucket
If you have a gravel cleaner, dig it around in the gravel to disturb and suck up any detritus that’s stuck there. Mop up inevitable spillages with an old towel.
Step 4: Discard the Spent Water
Dirty aquarium water can be a great fertilizer for watering house and garden plants, and can also be used a few days later to clean your fish tank filter (see FAQs).
Step 5: Fill Your Empty Bucket With Clean Water
Mix cold water and warm water together and check it with a thermometer to make sure it matches the water temperature of your aquarium.
Step 6: Treat Your Tap Water With an Aquarium Water Conditioner
Choose an aquarium water conditioner that contains a de-chlorinator. Chlorine can be lethal to fish, so don’t skip this step if you’re using mains tap water!
Step 7: Carefully Pour the Clean Container of Water Into Your Betta Tank
Using your hand to deflect the flow and taking care not to disturb the fish, plants, and décor, gently pour your fresh water into the tank.
Repeat filling the tank with buckets until your tank is full. Your partial water change is complete!
Expert’s Tip: Test Your Tank’s Water Every 2-4 Weeks
As part of your routine maintenance, it’s a good idea to test your tank’s water parameters at least once a month with a trusted water test kit. Testing every 2 weeks in tanks of less than 20 gallons also isn’t excessive. Remember that water chemistry is notoriously unstable in nano tanks.
Water tests from brands such as API and Tetra reliably test your aquarium water for pH, ammonia, nitrites, and nitrates – some of the most important components of your tank’s water chemistry.
Learning about your aquarium’s water chemistry and how it changes when you clean your tank and change your water can be a great aid to inform you how to craft the ideal cleaning and maintenance schedule.
Ammonia Poisoning: How To Make an Emergency Water Change in Your Betta Tank
So far, I’ve covered everything you need to know about making 10-30% routine partial water changes in your aquarium. There are some circumstances, however, when a larger, emergency water change is necessary to remove deadly toxins from the aquarium as quickly as possible.
The most common cause for an emergency water change is in the event of ammonia or nitrite poisoning.
Ammonia and nitrites are produced by fish waste, uneaten food, and rotting plant material, and need to be converted into safer nitrates by friendly bacteria that live in the filter and tank substrate.
If there is a problem with this process, however, the tank may suffer from an ‘ammonia spike’. Ammonia and nitrites are so toxic that they can kill fish within hours, so you must act swiftly to save your fish’s life.
Step 1: Test Your Water
If you suspect water poisoning, use an aquarium test kit to find out whether ammonia or nitrite is to blame. If they are above zero, you need to remove them as quickly as you can.
Step 2: Remove 30-45% of the tank’s water
Using a siphon hose, remove 30-45% of the dirty fish tank water. Don’t vacuum the gravel on this occasion, since stirring up detritus may make matters worse.
Step 3: Replace the Spent Water with Clean, Treated Water
Stay calm and make sure you follow all the steps thoroughly. Don’t forget to dechlorinate the replacement water, and make extra sure to match the temperature of the new water with the temperature of your aquarium! Large water changes run an even greater risk of temperature shock than standard ones.
Step 4: Test Your Water Again
Once you’ve completed your water change, test your tank’s water again to see if the water quality has improved.
If ammonia or nitrite levels are still high, consider using a water conditioner such as Seachem Prime to temporarily neutralize any toxins, before continuing your water changes over the next few days.
Step 5: Correct the Source of the Problem
Now that the situation is temporarily under control, you need to identify and solve the root cause of the problem.
Is your filter working properly? If your good bacteria colonies have taken a hit, you may need to introduce a filter sponge from another fish tank with a healthy ecology.
Aquarium Water Changes FAQs
Can I Clean My Aquarium Filter at the Same Time as Cleaning My Gravel?
Because aquarium gravel and the tank’s filter sponge are the two places where the tank’s beneficial bacterial colonies live, it’s sometimes advised that you shouldn’t clean both of them at the same time.
Even if you clean the tank’s filter in a bucket of dirty aquarium water as advised, you may be removing too many of the beneficial bacteria in one go and risk the tank’s subtle chemistry becoming unstable.
For this reason, I’d recommend saving the dirty water from your gravel cleaning in a bucket and cleaning your filter sponge in it a few days after vacuuming.
Do I Need to Remove My Betta Fish from the Tank to Make Water Changes?
As long as you carefully follow the steps given, there’s no need to remove your betta fish when changing the water.
To avoid shocking your fish, avoid making water changes of more than 30%, make sure that the replacement dechlorinated water is of matching temperature, and use your hand to deflect the new water gently into the aquarium.
How Can I Reduce the Number of Water Changes in My Betta Tank?
For most aquarium owners, partial water changes are a fact of life, and an essential part of keeping your water quality high, and your fish healthy.
Some advanced aquarists, however, have come up with a different method of keeping the tank clean that requires minimal water changes, and (not recommended for beginners!) even the absence of a filter.
The Diana Walstad method is a system of creating a largely self-sustaining aquarium where no filtration and very infrequent water changes are made possible by utilizing plants and microorganisms to create a healthy miniature ecosystem.
Once established, the plants, bacteria, and organic substrate are capable of keeping the tank ecology in a healthy balance and performing the majority of aquarium cleaning and maintenance for you.
You can read more about the Walstad method in my article here.

